Looking for some advice?
Despite the ongoing challenges presented by Covid19, we’re here to help. If you’re working on a large format project, and have any questions, please get in touch via our contact form – our expert project managers are on hand to answer any of your questions.
The desire to get things right first time is common to every designer, but few know this pain better than large format printers. While the creative aspect is important, the sheer size and cost of these graphics means that the pressure to get them right on the first try is really on. For designers, all sorts of questions come to mind:
What software should I use?
What type of file format is best?
What resolution do the graphics need to be?
Do large format printers use specific colours?
You need to approach your designs and choose your tools with a bit of careful thought — because when printed, your work is going to be big. Possibly very big. To do so, the above questions (and a few others) need answering.
What exactly qualifies as large format printing?
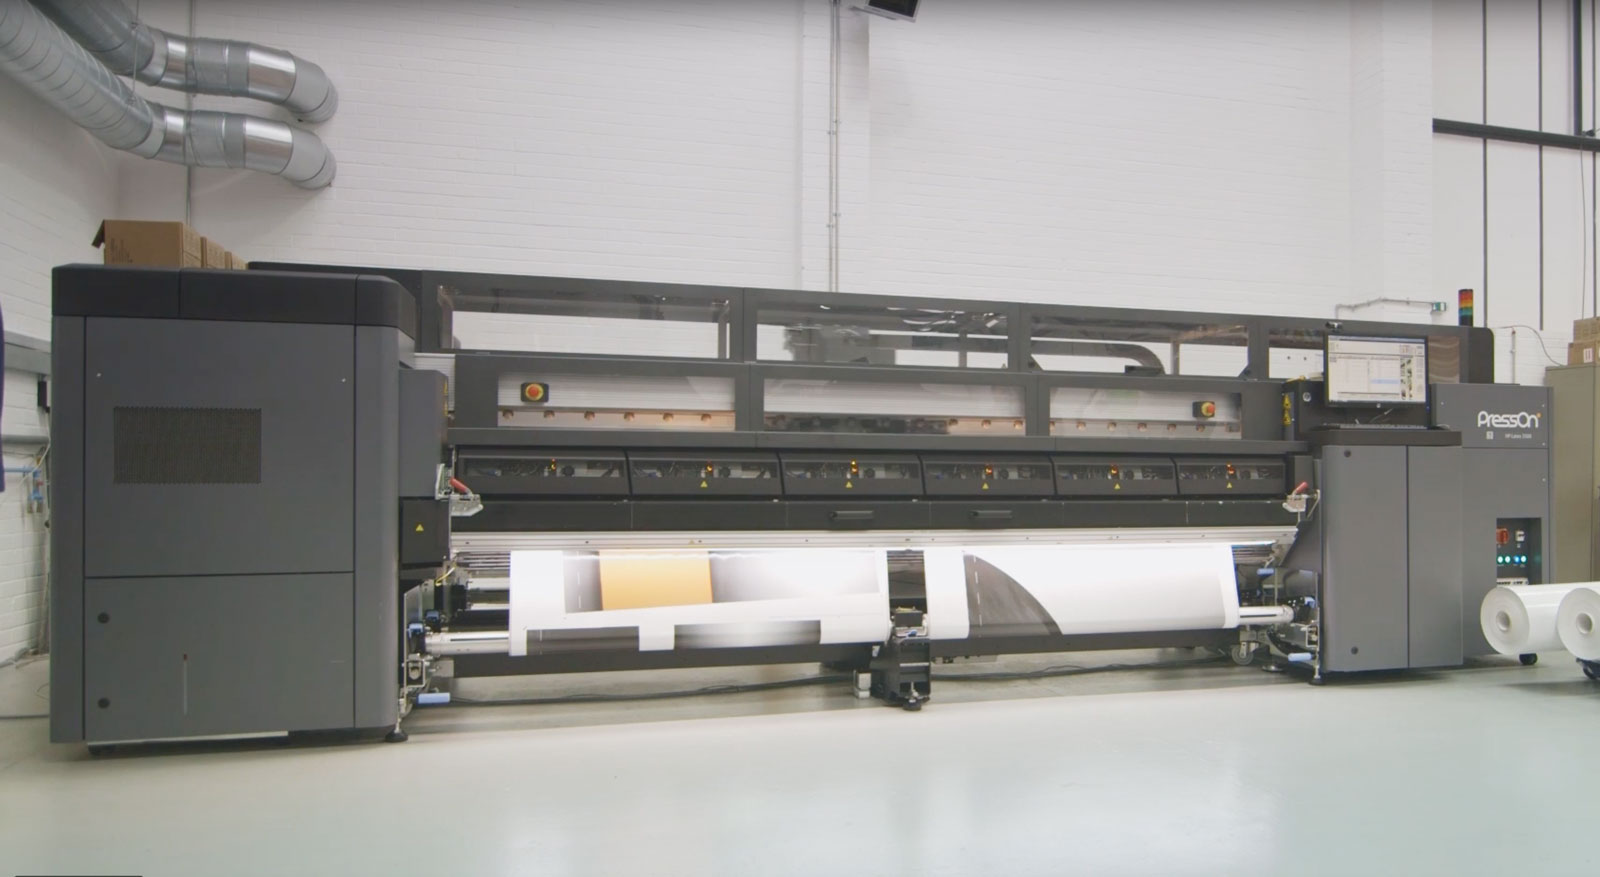
Large format printing takes place on wide format printers, which support print rolls of between 18” and 100”. What this means is that every individual element of a design will be expanded to a size far beyond those for magazines, brochures, business cards, or anything displayed on a screen.
A few large format printing examples include (click for further information on each):
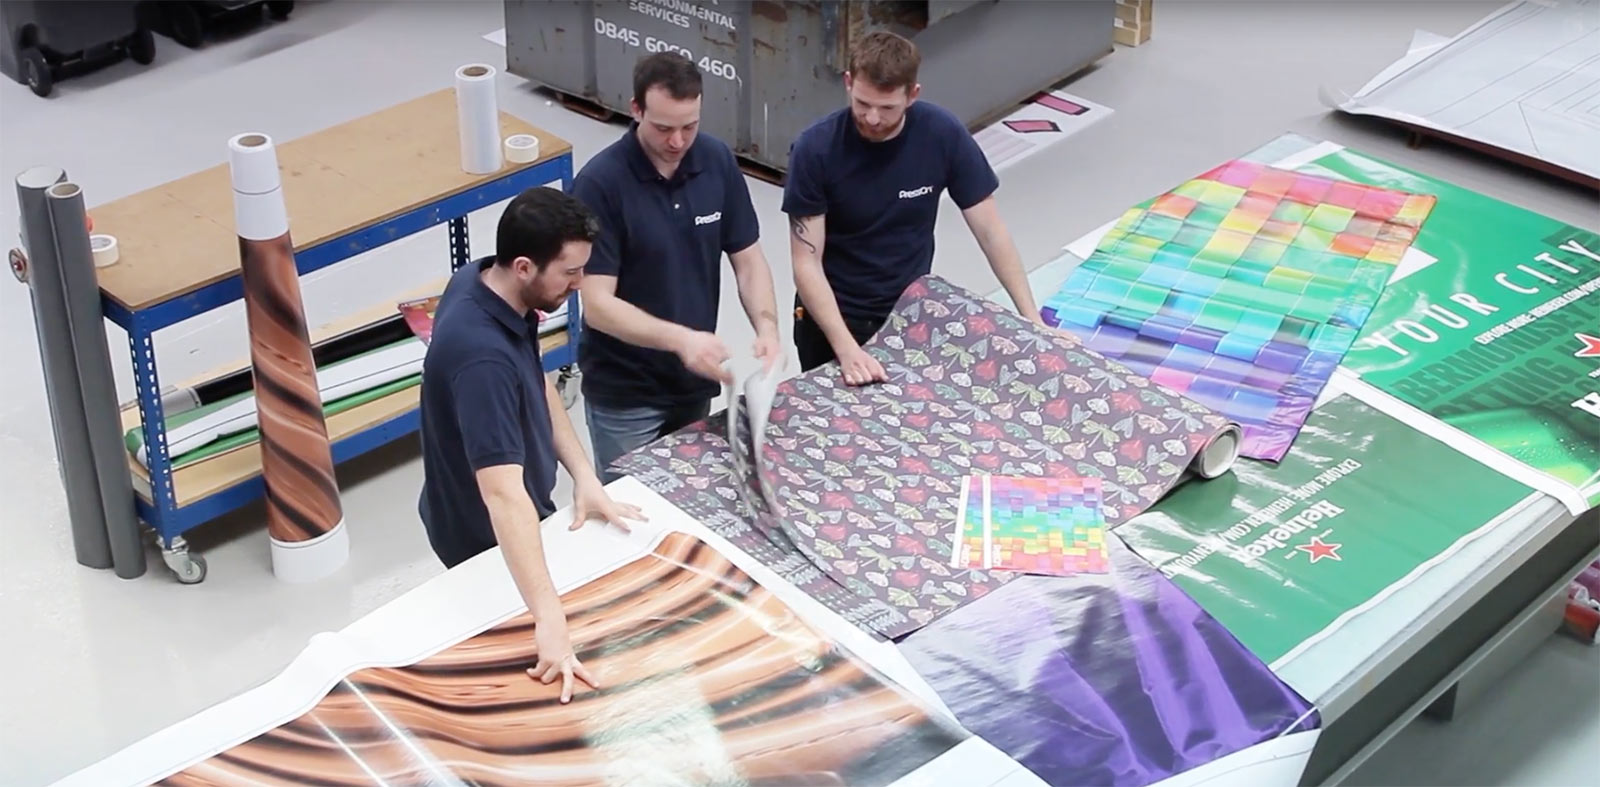
There are plenty more than this, and projects will often involve more than one at the same time. Substrates (the material they are printed on) can vary greatly too, with everything from vinyl to aluminium providing a potential surface for printing.
Speak to the printer sooner, rather than later
If there’s one tip that’s stands above the others, it’s this one. When designing large format graphics, unless (and even when) you’ve worked with a printing firm before, it’s important to get in touch and clarify everything that’s necessary.
You should ask about the printing equipment they use, any specific requirements they have, and generally how they’d like you to prepare and send over the files. If the printer is planning to use a specific substrate, for example, you may need to adjust the colour palette you’re using.
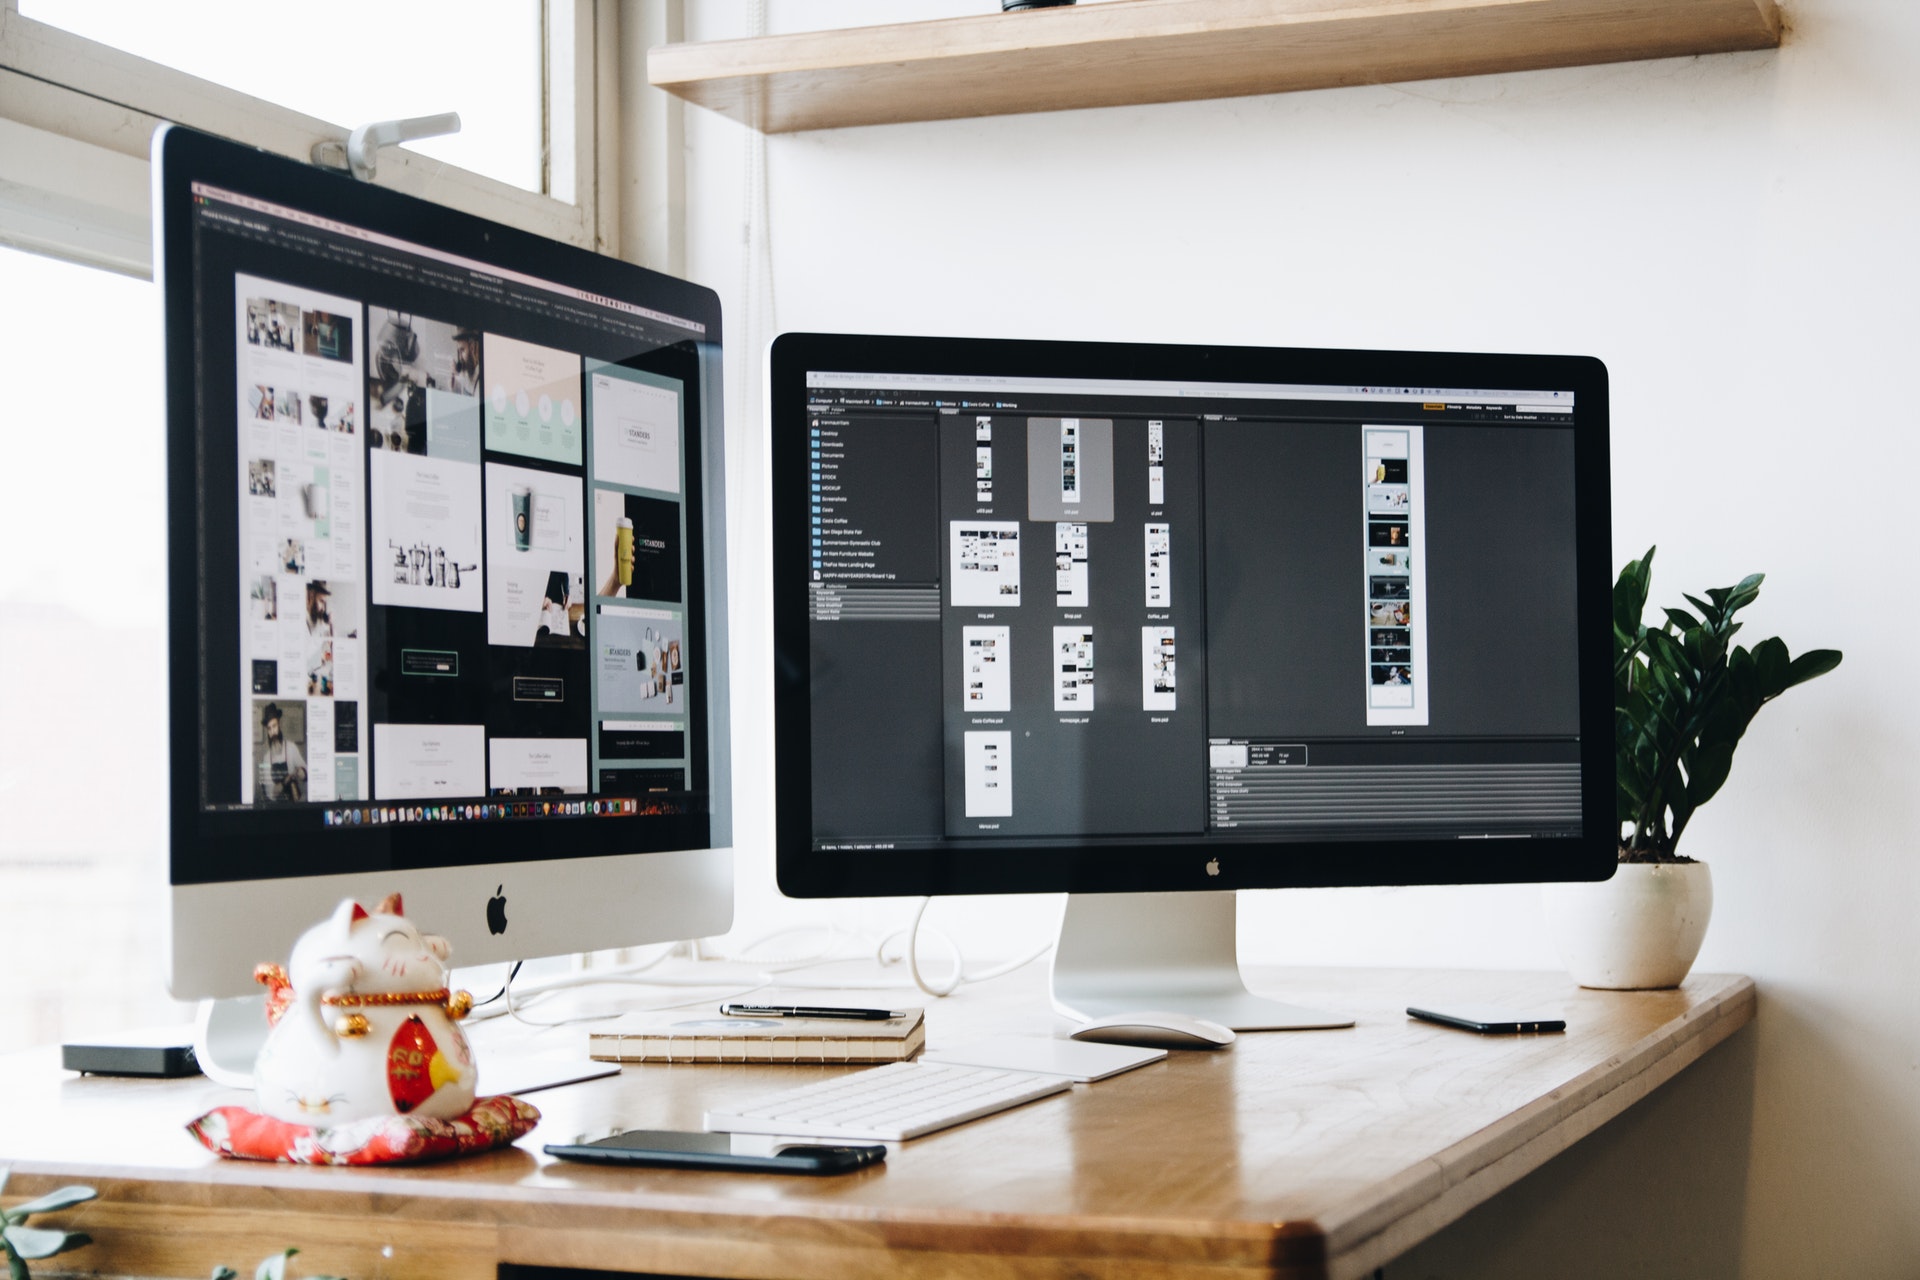
What software/program should I use for large format printing designs?
For many designers, this will be the first question that comes to mind, as it has a direct impact on every other element of the design process.
Adobe Illustrator
Illustrator is a great choice for a number of reasons, the main one being that it works with vector (.eps) files, which can be scaled up to any size without losing clarity and definition. These files often tend to be a lot smaller than those created in Photoshop, which makes them simple and quick to transfer/download.
Illustrator is also fairly easy to use, and allows a lot of scope for creativity when working with block shapes, fonts, and colours. You can also import raster files from Photoshop if need be, making this tool a versatile choice that’s ideal for large format printing.
Photoshop
Often your designs will need to incorporate photographs, and the go-to software for this is Photoshop. The key thing to be aware of is that the file types used in Photoshop aren’t vectors, which means they scale up slightly differently. The resolution (‘pixels per inch’ [PPI] or ‘dots per inch’ [DPI]) of the images you use will be particularly important.
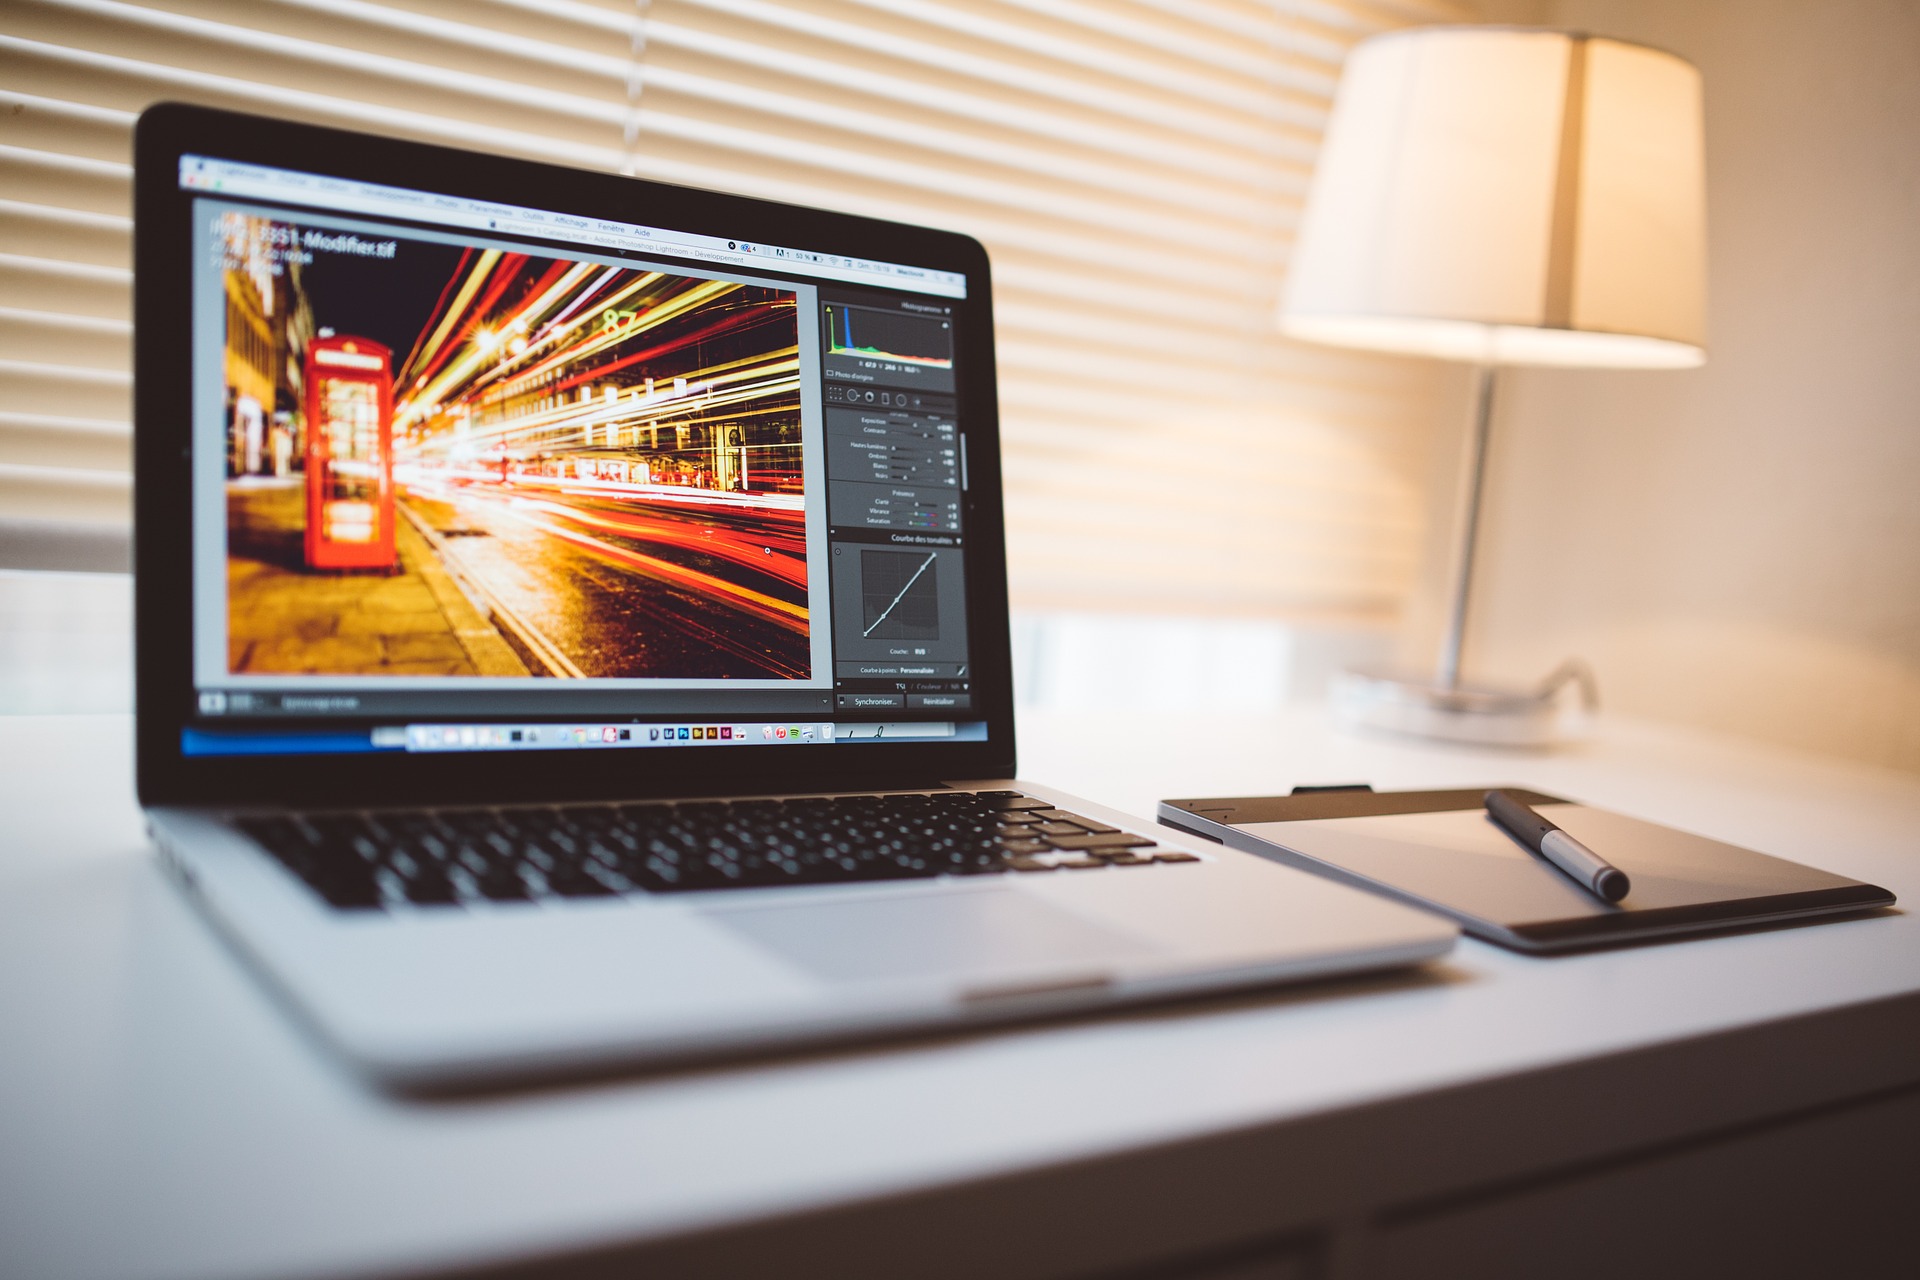
Calibrating your equipment
Another vital step in the process involves calibration. When working on a screen, images are often displayed very differently to the way they appear in print, so it’s essential to calibrate your tools to ensure that what you see on the screen is the same as what people will see in the finished product.
To do this, things can get a little bit technical – you need to consider the white, black, gamma, and colour levels of your screen, which all need to be adjusted to the correct levels. This can require a fair amount of fiddling, and to make this process easier there are plenty of tools you can purchase that will detect and calibrate your monitor accordingly.
It’s worth noting that even with a calibrated monitor, you’ll need to make sure your software is displaying the image in the way it will appear once printed. For this, both Photoshop and Illustrator offer ‘soft proofing’ tools, which allow you to simulate the effect of various printing devices, enabling you to see how your designs will look when produced on a specific printer.
What sort of file type should I use for large format graphics?
When it comes to creating your files, fidelity is key. Crisp lines, clear definition, and consistent colours are all important factors, and making the right choice when it comes to the type of files you use is vital.
Using vector files
Vector (.eps) files produced in Illustrator use mathematical algorithms to scale images up, rather than being restricted by a specific resolution. This means that printing them in large format is more straightforward, and any necessary changes won’t cause a ‘domino effect’ of problems.
Using raster images, bitmaps, and other non-vector file types:
As many designs will need to incorporate photographs or other images produced in Photoshop, there will be occasions when you’ll need to work with raster images or other non-vector file types. When doing so, you’ll need to consider both their resolution and dots per inch (DPI).
Graphics viewed from a distance don’t need the same level of quality as those viewed up close. Generally speaking, for images viewed nearby (at around 3 feet or less), a DPI of 300 is usually sufficient. When it comes to images for things viewed from a distance, such as billboards, 100 DPI can be enough.
The difficulty with providing a precise guideline here is that the requirements for each project will be specific, and unique. The details of where an image will be displayed and what size it will be need to be taken into account, which will involve consultation with the client (and potentially the printing company too). Printing firms will also have different equipment with different DPI outputs, which will need to be adjusted for after discussion.
How to use colour in large format graphics:
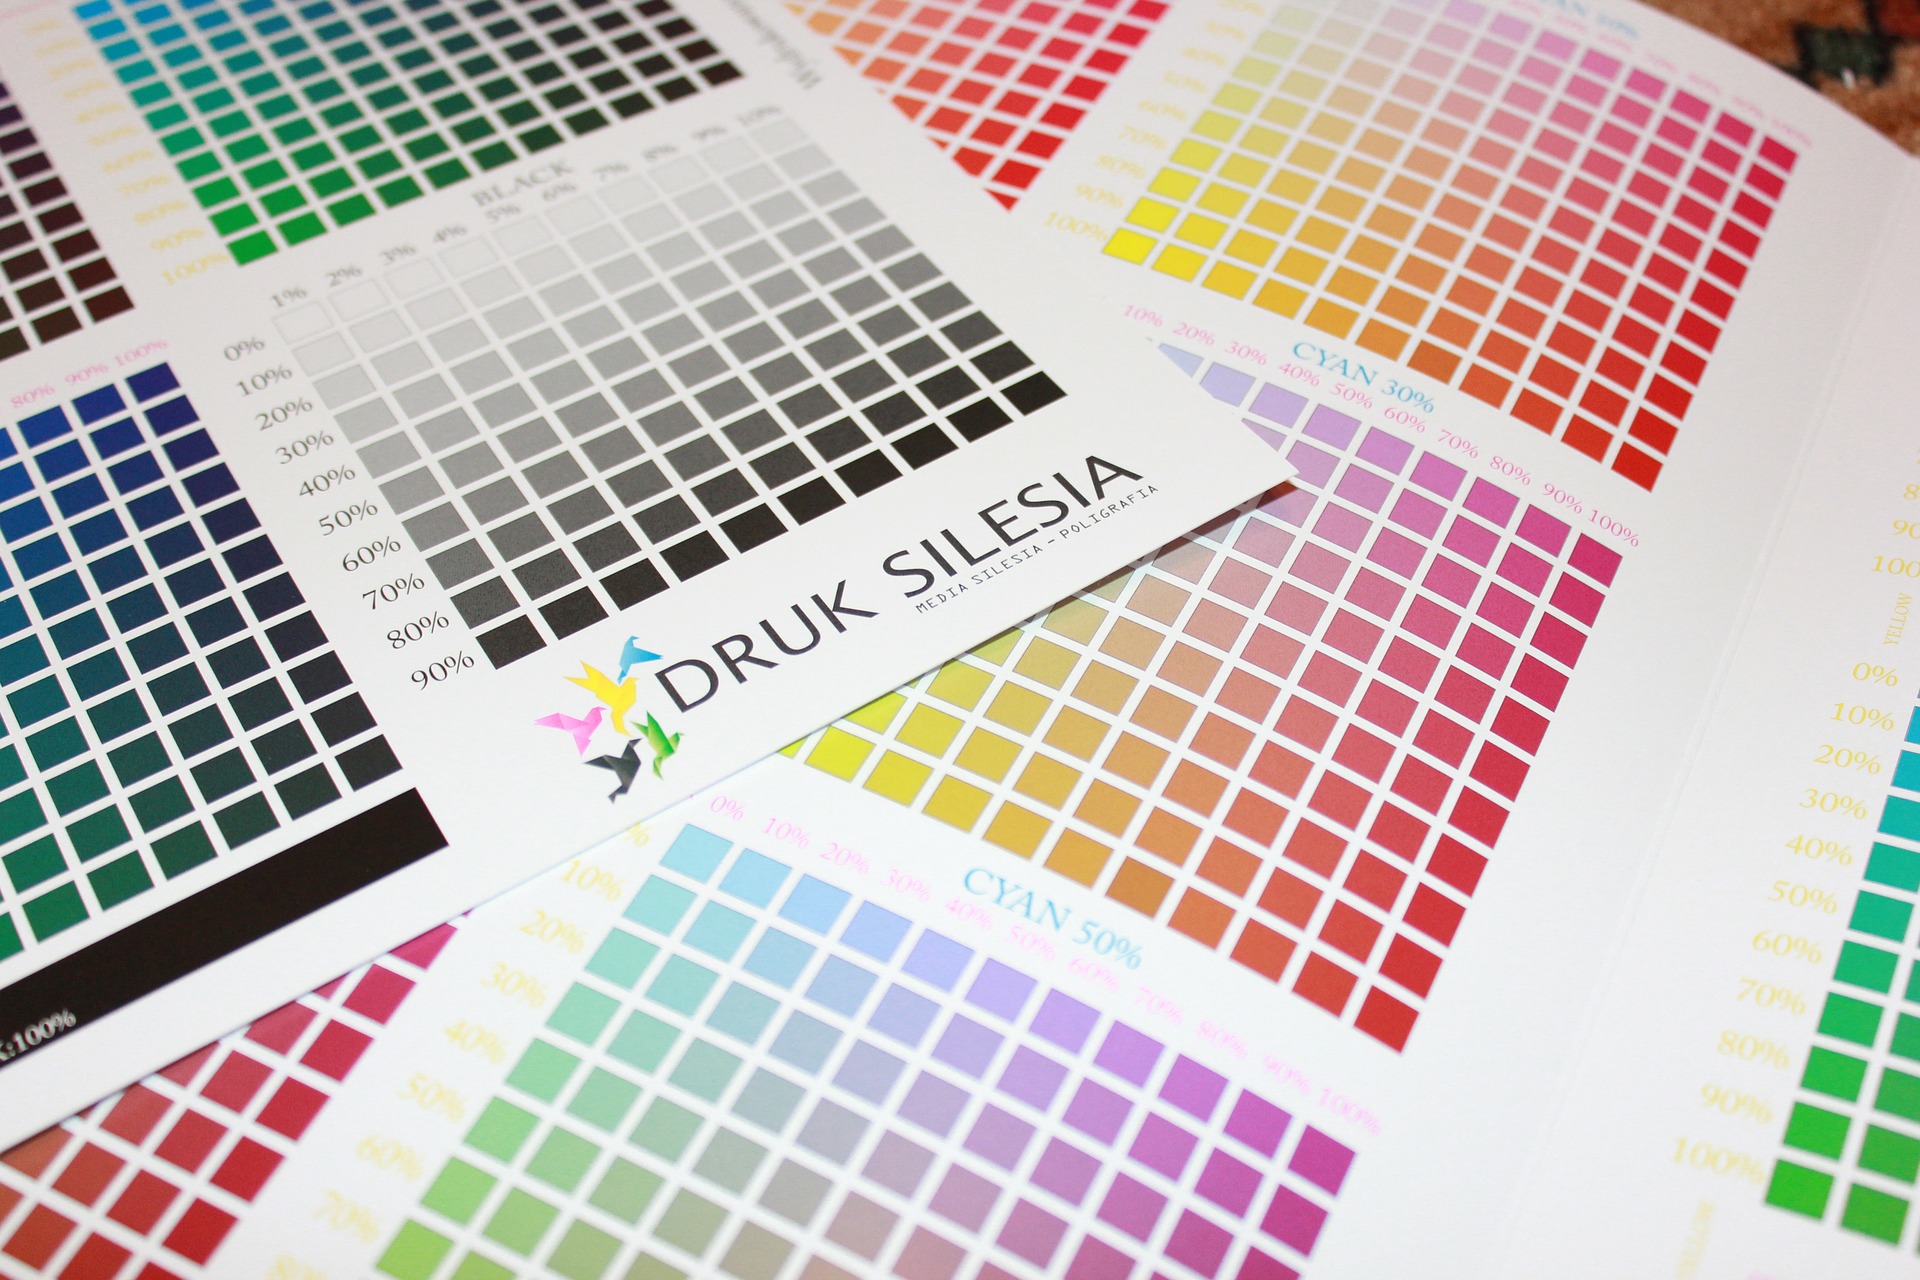
While there are endless specifics when it comes to colour, the basic fundamentals are that most printing equipment uses the CMYK (cyan, magenta, yellow, black) colour mode, while designs for screens opt for RGB (red, green, blue).
RGB is ideal for digital devices, but converting this type of file into CMYK can was out or dull the colour palette. For this reason, and to save falling at the last hurdle, the best option is to save your work in CMYK from the very start.
Final thoughts:
If there’s one thing to take away, it’s that with any project, if you’re unsure about any element of the design and printing process, simply ask. Speak through the brief and any potential necessary changes with both the client and the printing firm. This approach, coupled with the tools and strategies outlined above, will at the very least save you from delivering something that doesn’t fully represent your time, effort and ability.